This guide will walk you through the process of setting up React Native on Ubuntu. We’ll cover the installation of necessary tools and dependencies, including Java, Node.js, and Android Studio. By the end of this guide, you’ll have a fully functional React Native development environment on your Ubuntu system.
Installing Java and Node.js on Ubuntu
Installing Java and Setting Up Paths
Step 1: Update Package Index
First, update your system’s package index:
sudo apt updateStep 2: Install Java
Install the default Java Development Kit (JDK):
sudo apt install openjdk-xx-jdkStep 3: Verify Java Installation
Check the Java version to confirm installation:
java -versionStep 4: Set Java Environment Variables
Open the environment file:
nano ~/.bashrc
JAVA_HOME="/usr/lib/jvm/java-[VERSION]-openjdk-amd64"
PATH="$PATH:$JAVA_HOME/bin"
Save and exit the file. Then, promptly reload the environment variables to ensure that all changes take effect immediately.
CTRL+S and CTRL+X
source ~/.bashrcInstalling Node.js
Method 1: Using apt (Ubuntu’s package manager)
Update the package index Install Node.js and npm:
sudo apt update
sudo apt install nodejs npm
Verify the installation:
node --version
npm --version
Method 2: Using NVM (Node Version Manager)
Install NVM:
curl -o- <https://raw.githubusercontent.com/nvm-sh/nvm/v0.39.1/install.sh> | bashClose and reopen your terminal, or run:
source ~/.bashrcInstall the latest LTS version of Node.js:
nvm install --lts
nvm use --lts
Verify the installation:
node --version
npm --version
Setting up Android Studio and Environment Variables
Step 1: Install Android Studio
First, download Android Studio from the official website or from the Ubuntu App Store. If downloading from the website:
wget https://redirector.gvt1.com/edgedl/android/studio/ide-zips/2023.1.1.26/android-studio-2023.1.1.26-linux.tar.gzExtract the downloaded file:
sudo tar -xzf android-studio-*-linux.tar.gz -C /optLaunch Android Studio:
/opt/android-studio/bin/studio.shStep 2: Set up Android SDK
During the Android Studio setup wizard, make sure to install the Android SDK, Android SDK Platform-Tools, and Android SDK Build-Tools.
If you installed Android Studio from the App Store, the path to the Android SDK might be different. In this case, you should use the following path :
export ANDROID_HOME=$HOME/Android/SdkMake sure to adjust the other paths accordingly in your .bashrc file.
Step 3: Set Android Environment Variables
Open your .bashrc file:
nano ~/.bashrcAdd the following lines at the end of the file:
export ANDROID_HOME=$HOME/Android/Sdk
export PATH=$PATH:$ANDROID_HOME/emulator
export PATH=$PATH:$ANDROID_HOME/platform-tools
export PATH=$PATH:$ANDROID_HOME/tools
export PATH=$PATH:$ANDROID_HOME/tools/bin
Save and close the file. Then, reload the .bashrc file: CTRL+S and CTRL+X
source ~/.bashrcStep 4: Verify the Setup
To verify that the Android SDK is correctly set up, run:
adb --versionIf you see the version information, your Android SDK is correctly set up and ready for React Native development.
Setting Up React Native
Step 1: Install React Native CLI
Install React Native CLI globally using npm:
npm install -g react-native-cliStep 2: Create a New React Native Project
Create a new React Native project using the following command:
npx react-native init MyReactNativeApp
cd MyReactNativeApp
Step 3: Connect Your Physical Device
Connect your Android device to your computer using a USB cable. Ensure that USB debugging is enabled on your device (Settings > Developer options > USB debugging).
Step 4: Check Device Connection
Verify that your device is properly connected by running:
adb devicesYou should see your device listed in the output.
Step 5: Run the React Native App
npm start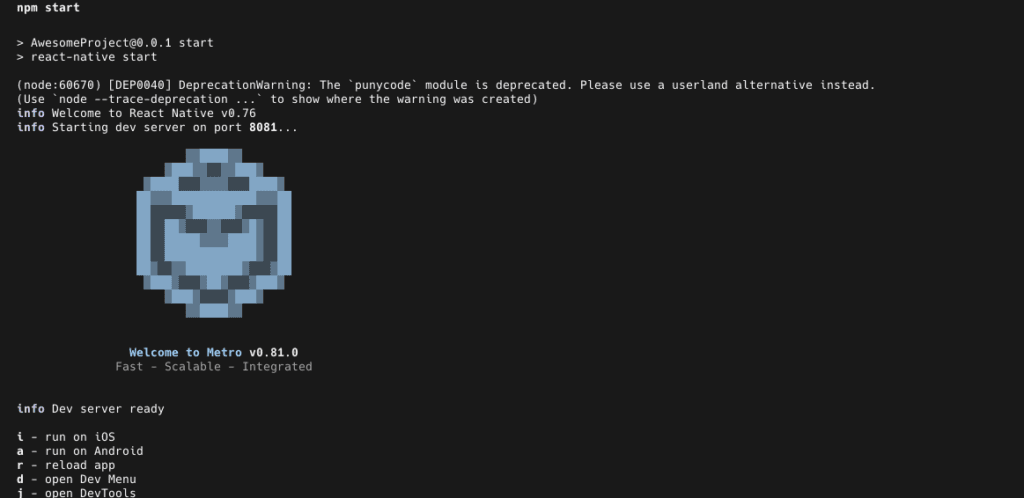
Press 'A' on the keyboard.
Step 6: Troubleshooting
If you encounter any issues, try the following:
- Ensure your device is recognized by running adb devices
- Check that USB debugging is enabled on your device
- Restart the adb server using adb kill-server followed by adb start-server
- Make sure your device and computer are on the same Wi-Fi network
With these steps, you should now have your React Native app running on your physical Android device. You can start developing and testing your app directly on the device.
🎉 Next Steps
Congratulations! You’ve successfully set up React Native on Ubuntu. Here’s what to do next:
- Try running the sample app
- Explore React Native documentation
- Join the React Native community
- Start building your first app!
📚 Additional Resources
Other
https://arcdev.in/how-to-use-react-hook-form-in-react-native-expo-app/